
How to take good pictures for your listing with your smartphone
Here's how to adjust your camera settings, take a photo and tell a story.
Whether you're adding photos for the first time or want to enhance your listing to showcase your space, taking high-quality photos with your smartphone is easier than you think. Let us walk you through each step so you can take your own photos.
The beginning:
- Identify the best lighting and prepare your space
- Charge your smartphone
- Give yourself at least 1 hour to take photos of each room
Your smartphone settings:
Most smartphones can take great photos. Here are some useful features and how to set them.
1. Activate the grid
Grids can help you position the camera and see if it is straight.
Here's how to enable the grid, depending on your device:
- On iPhone: Go to Settings > Camera, then enable the grid on your phone.
- On Android: Launch the Camera app, then go to Settings, scroll down, then turn on the grid.
2. Turn off the flash
Natural lighting is ideal. Using a flash can make the picture look a little too garish. If your home has windows, take pictures at the brightest time of day. If a room has no windows, turn on the lights to create a pleasant atmosphere.To turn off the flash, open your Camera app, then locate the lightning icon and select Off.
3. Photo resolution
For images to be as clear as possible, they should have a resolution of at least 1024 x 683 pixels. So make sure your photos are saved in high resolution. You can always come back to this page and change your settings once your photo session is over.
The composition of a professional photo :
1. Straight lines
- Keep your phone straight and parallel to the ground. To center the main piece of furniture, you may need to raise or lower your hands. As a general rule, the camera should always be placed high enough so that the tops of beds, tables, and countertops are visible.
- Avoid placing your phone above your head to get a better view or holding it at an angle, which is unflattering and often causes unwanted distortion.
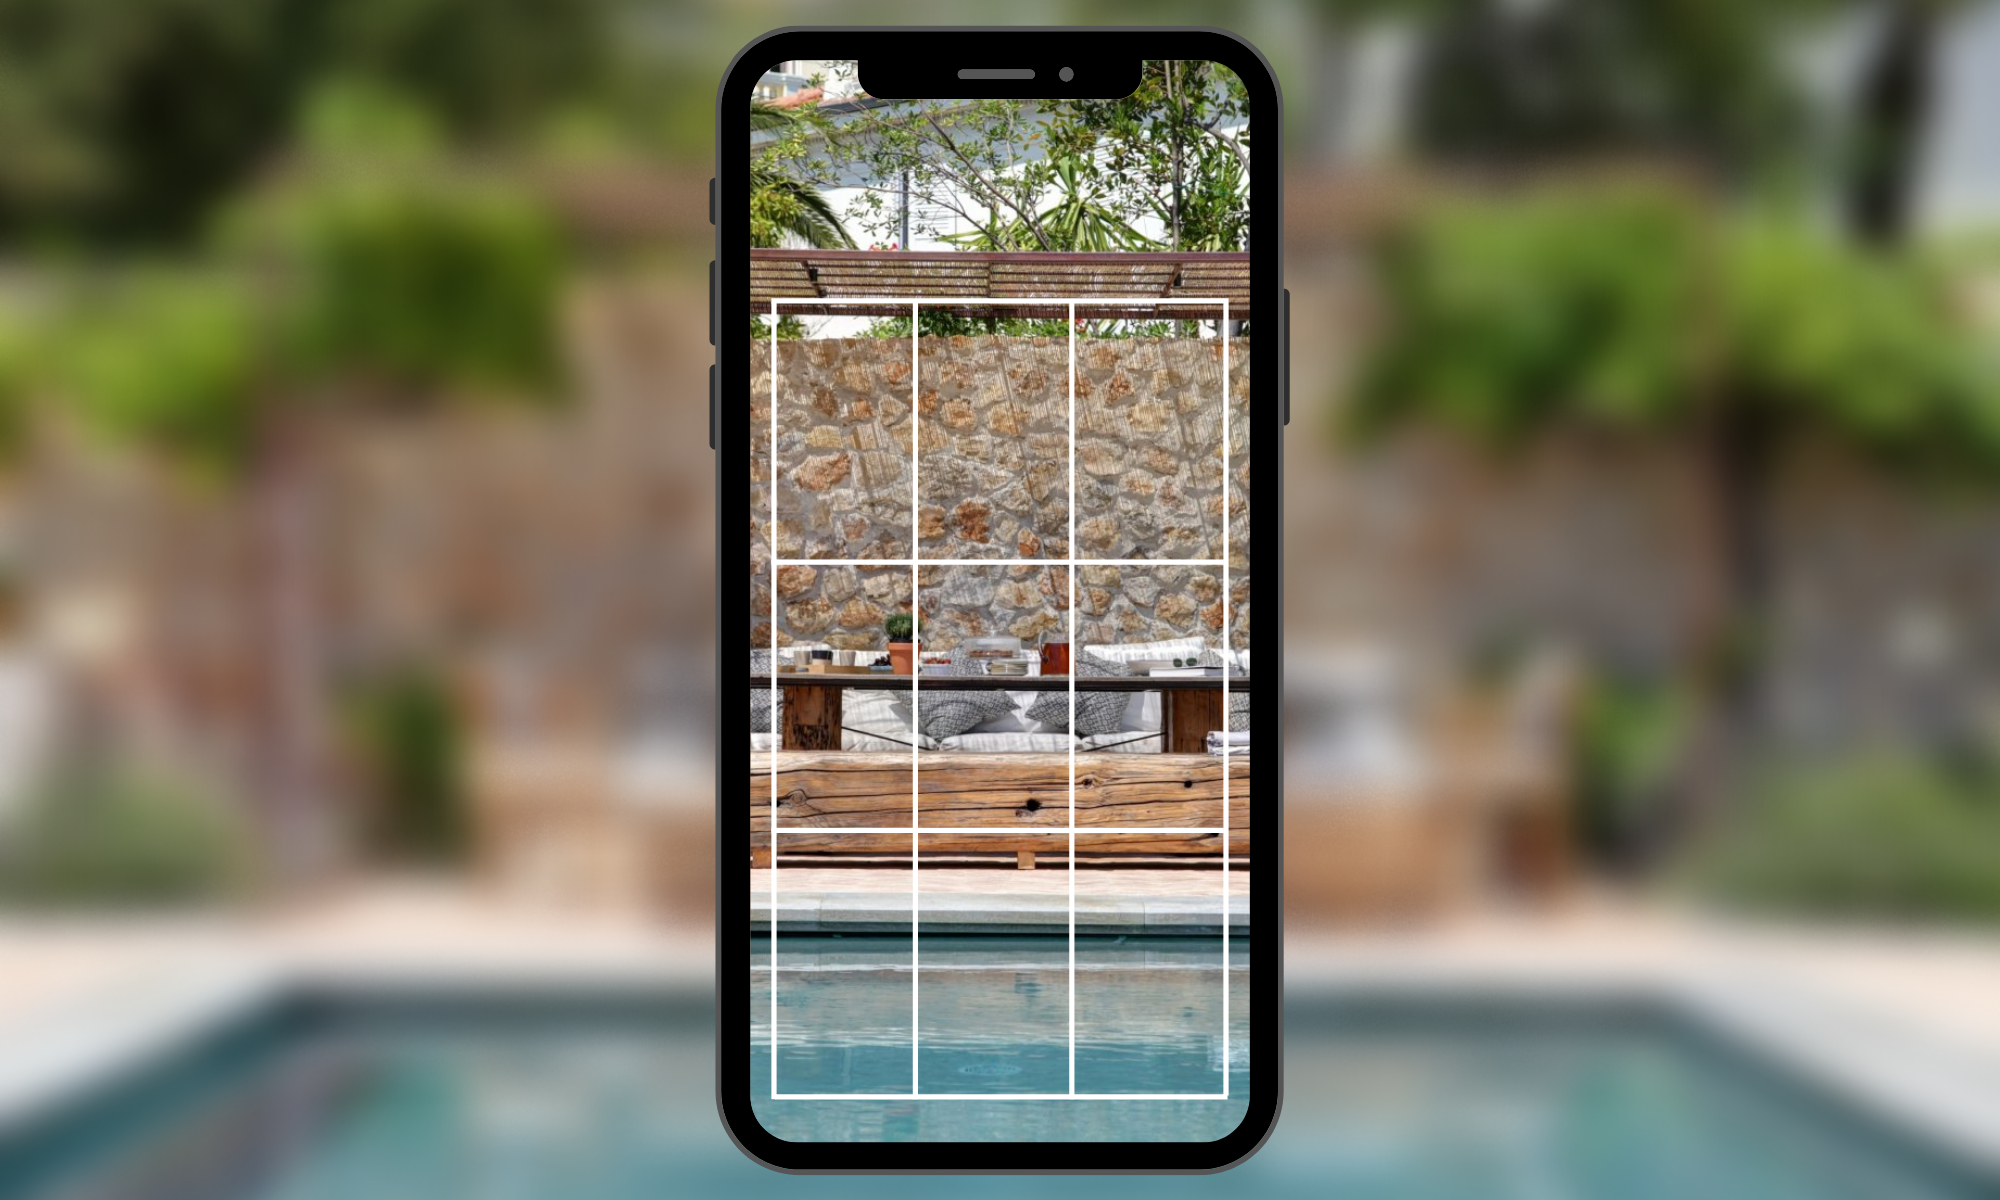
2. The rule of thirds
The rule of thirds is a photography principle that divides an image into thirds horizontally and vertically, creating nine squares and four points of intersection. Use the grid feature of your camera and use the lines to compose your photos.
- Place the main subject of the image at the intersection of the grid lines (slightly off center). For example, place your sofa, bed or table at the intersection of the lines. Using the grid and the rule of thirds, the subjects in your photos are sharper and straighter.
- To avoid cutting out important details, try not to place the main subject in the bottom or top third of the frame.
3. Focusing
- Use auto focus so you don't have to adjust it manually.
- Do not shoot with one hand. Using both hands keeps the camera steady and helps you take a sharp picture. You can also try resting your elbows against your ribs to stabilise your hands.
Tell a story:
Organisers love context and being able to project their expectations so don't forget to highlight notable features and equipment. Capture them by showing their location in relation to the rest of the room.
Here are some examples of amenities you could include in your photos and mention in your captions:
- Family-friendly items, such as a high chair or crib.
- A work space that is computer friendly
- An outdoor space, such as a patio, garden or balcony, or a pool
Important shots:
- Wide shots: are used to give a general view, allowing organizers to get a sense of the size of a space and its potential.
- Medium shots: work well for taking straight shots from the front, not from a corner of the room. They allow you to get a clear picture of the main elements that make up the room, such as the couch, table or desk.
- Close-ups: give an idea of the atmosphere of the room. They can be shot horizontally or vertically. When taking these close-ups, pay special attention to what's in the frame: fluff up pillows, hide threads and smooth out sheets.
Your photos should tell a complete story about your space and tell potential organisers what to expect.
Here are some suggestions to keep in mind:
- Add enough photos of your venue so your guests know what to expect
- Include between 2 and 4 photos of each of the accessible rooms
- Take photos of each room from several angles to give a clear idea of the room.
- Take close-up shots to emphasise the personality of your home.
- Clearly highlight the important elements in your photos.
Create your profile here. If you already have an ad, update your photos by clicking here.